
I decided to replace all the lifters, the oil pump and every bit of tune up components I could. Ended up purchasing an AEM dry flow cleanable air filter, Jeg's brand performance cap and rotor, Jeg's brand 50k volt coil, Taylor 8.8mm spark plug wires and E3 Sparkplugs. I had the same wires and plugs on my 5.9L in a 98 Dodge Ram I use to had great luck with them.
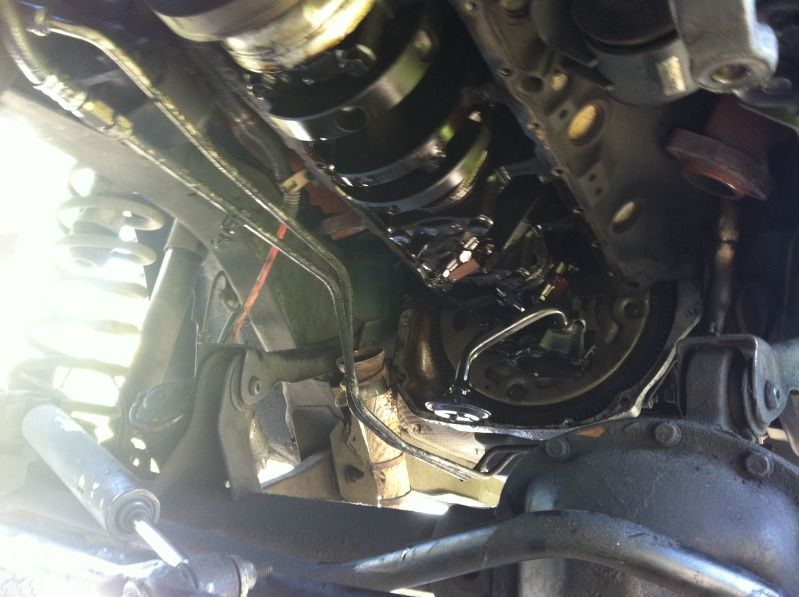
As a rule of thumb, I like to take pictures of an engine prior to tearing it down. Especially on one I haven't worked on before. I have done enough 4.0L motor work now that I feel completely comfortable just tearing into it but I hadn't worked too deep on a 5.2L before so I went ahead and took multiple shots. This allows me to go back and reference where wires may have been routed, lines plugged in, etc. I took about a dozen pictures.
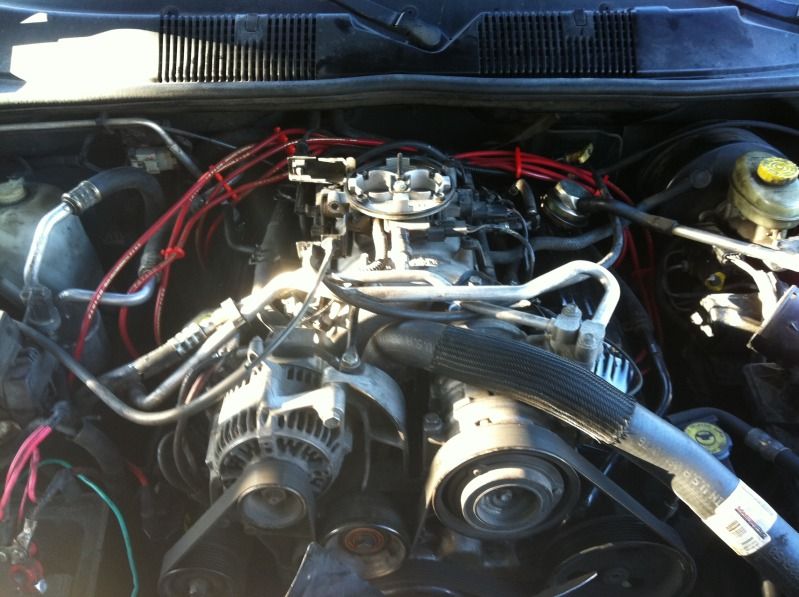
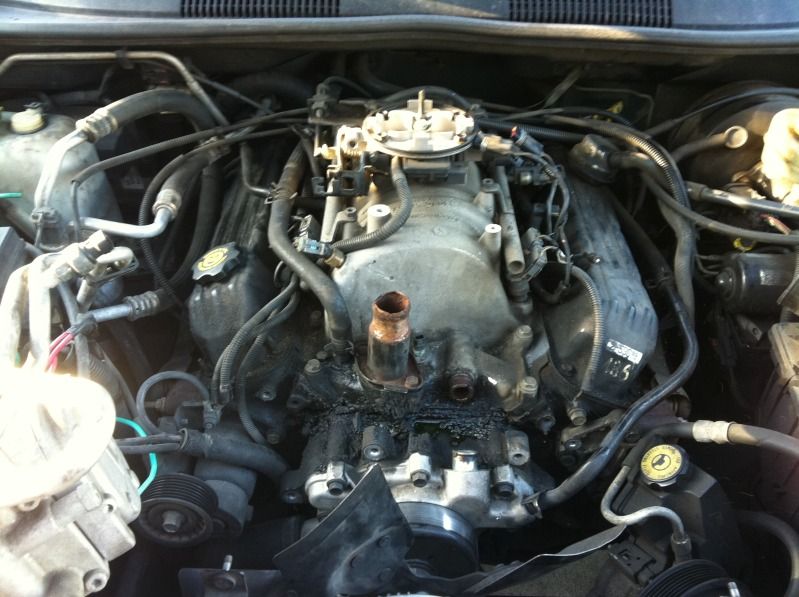 |
| Reference picture of the 5.2L |
The tear down begins...
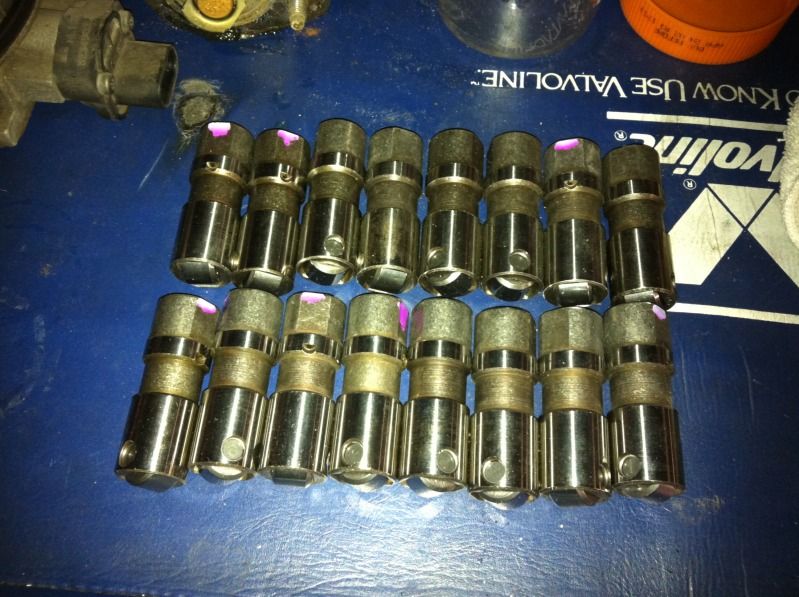 |
| The new replacement roller lifters |
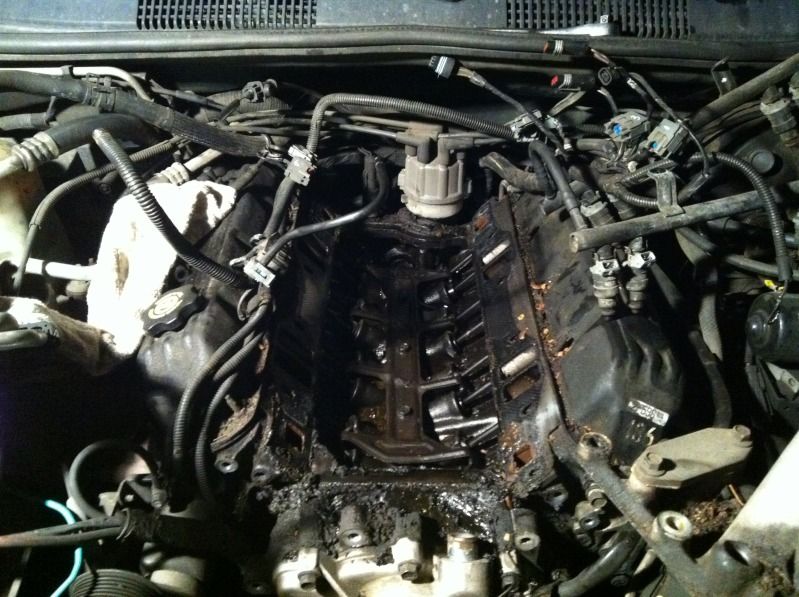 |
| Pretty grody.... |
After a lot of scrubbing and oil bathing...
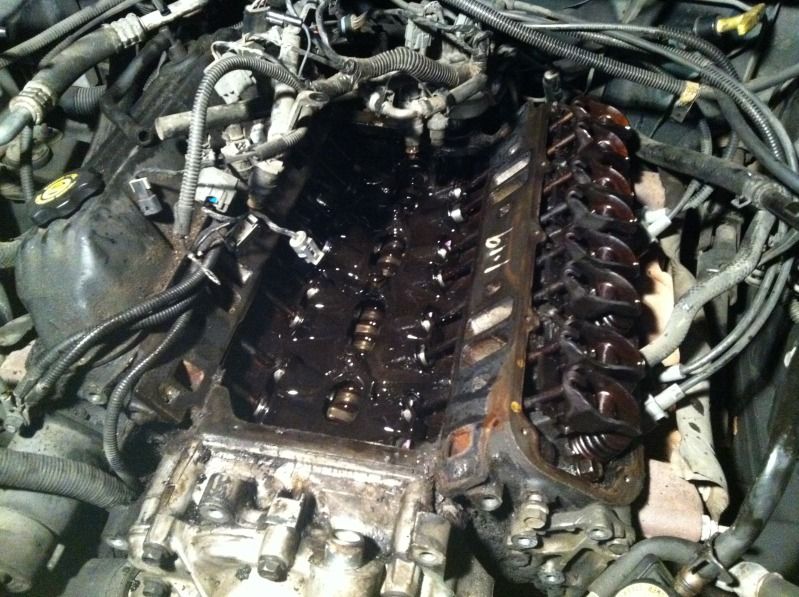 |
| Scrubbing and oil bathing |
When I was gearing up for this project, I did a lot of research on simple and inexpensive ways to get a little more efficiency and power out of the the motor. I found out that trimming some of the internals on the "kegger" intake manifold would allow for better airflow. I found a lot of debate on this and determined that minor clearancing would benefit a stock motor, if the motor were being built up, you can safely take more material out and not drastically change anything. Taking too much out runs the risk of losing bottom end power while gaining top end. For a 4wd vehicle, bottom end is important. I decided to remove a little and smooth off some edges. I went through and drew the cut to lines through out and went to town.
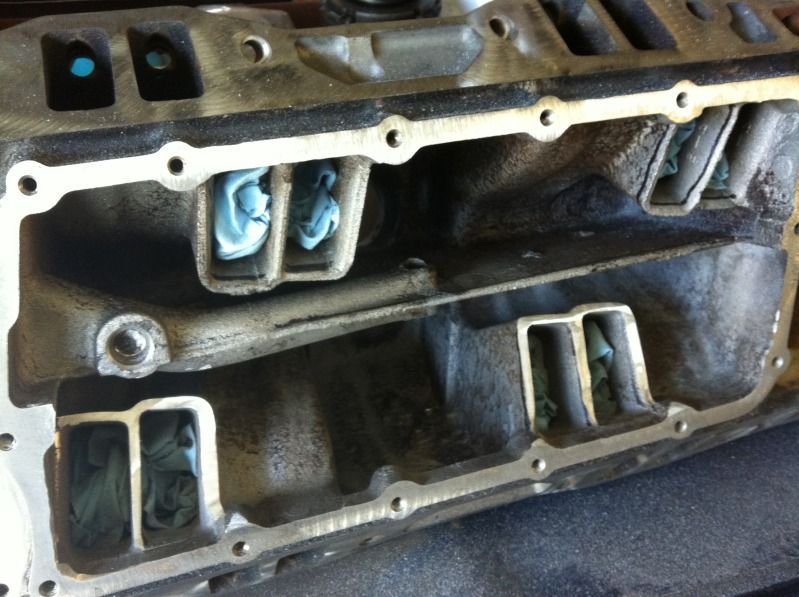 |
| In process of opening up the chambers. |
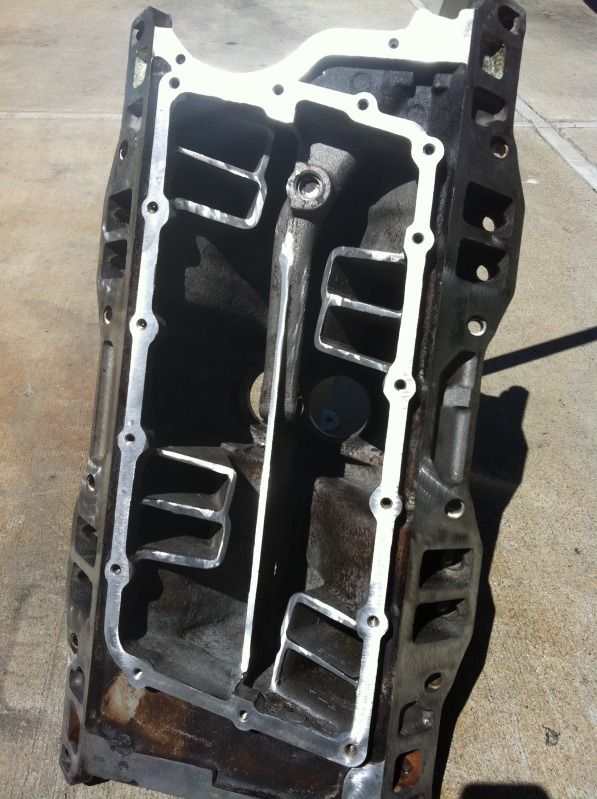 |
| All done with the cutting, just needs to be cleaned up. |
Cleaning and reassembly begins after priming all the lifters.
 |
| Cleaning and reassembly |
 |
| Top end all reassembled |
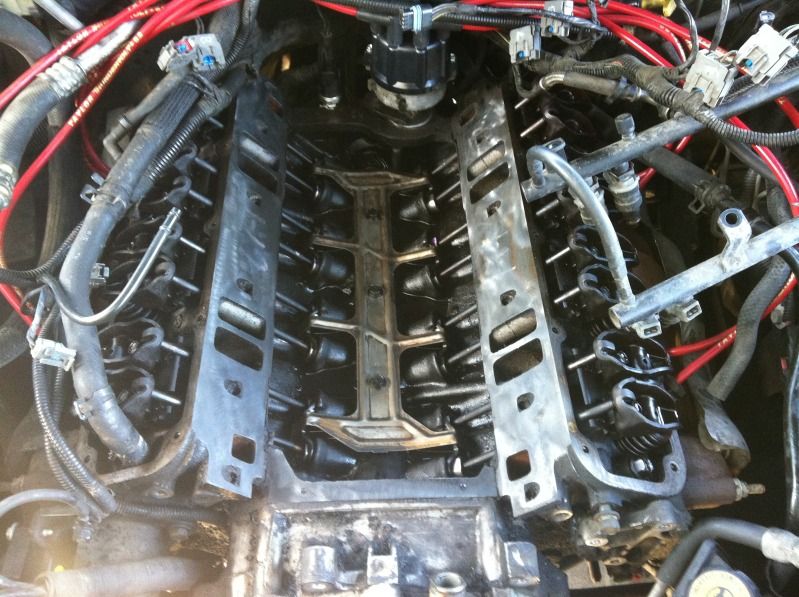
 |
| The bottom end is naked |
Installation went smoothly, I pre-primed the pump in a bucket of oil. Doesn't get all the air bubbles out but got the oil in there to aid in the process.
When Chrysler decided to put this motor into the Grand Cherokee, they must have had a really big shoe horn. The fire wall overlaps the top of the distributor making the cap and rotor a PIA to mess with but worse is when dealing with the exhaust manifolds. More specifically the passenger side exhaust manifold. It seems there is a slight oversight by the Jeep Engineers. One of the two bolts from the Y pipe to maniold connection is a gigantic cluster #@!*. The nuts are supposed to be on the manifold side, the problem is, when you slide the Y-Pipe up onto the manifold, you can no longer get to where this nut needs to be, from the underside of the Jeep OR the top side. Talk about infuriating. After lots of failed attempts and grumbling, I end up using some 3M adhesive (I call it gorilla snot) to get the nut to stick onto the manifold, just long enough to get the threads of the bolt started. Luckily the nut has a "flag" on it that catches the manifold so you don't need a wrench on it. At least Jeep did 1 thing right. Luck held out just long enough for the threads to start and then the gorilla snot let go. What should have been a 5 minute reinstall of the Y-pipe took an hour. Bleh.
Finally everything is back together. With the coil wire disconnected, I crank the engine over several times to build up oil pressure and the gauge appeared to be showing good pressure. Put the coil wire on and start the engine.
To be Continued....
No comments:
Post a Comment